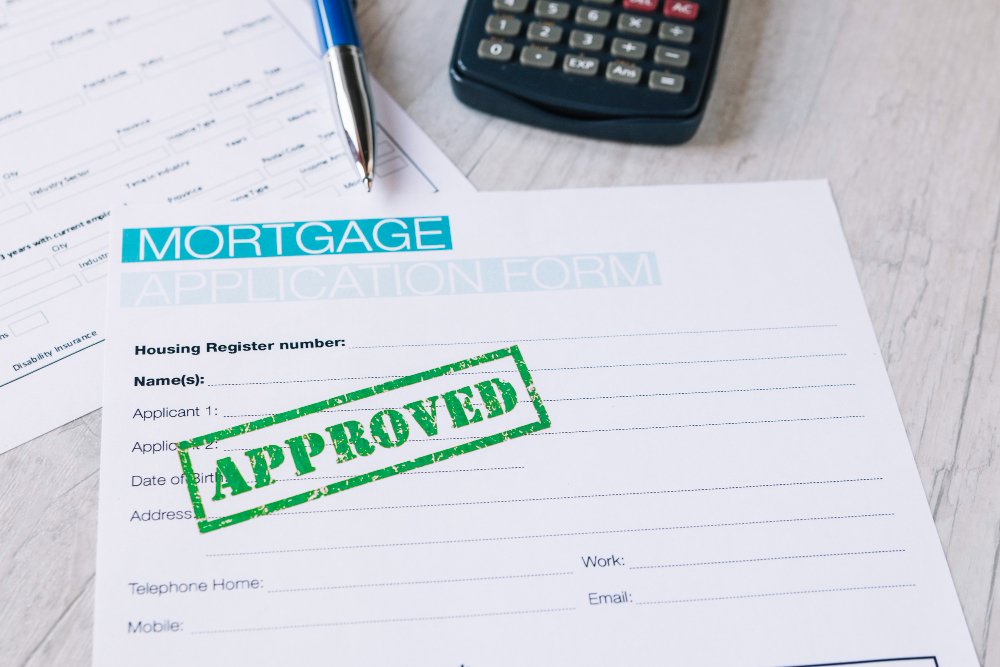
Walking into a house you love and knowing you can actually afford it is a feeling that never gets old. But in a competitive market, that feeling evaporates the second a seller picks another offer over yours. The difference between a dream accepted and a deal lost often comes down to one piece of paper: a mortgage pre-approval letter. It tells sellers you are serious, and it tells you exactly what your budget looks like before you start falling for properties that are out of reach.
Pre-approval is more than just a financial formality. It is a rigorous check of your income, assets, and credit history by a lender. Unlike a simple pre-qualification, which relies on self-reported numbers, pre-approval involves a hard credit inquiry and actual document verification. This process arms you with a specific loan amount, which gives you a significant edge over buyers who only have a verbal estimate of what they can spend.
Why Pre-Approval Matters More Than You Think
Many first-time buyers skip this step to save time, but that is usually a costly mistake. When you make an offer on a home, the seller wants certainty. A pre-approval letter signals that a bank has already vetted you and found you creditworthy. It shows you are not just browsing; you are ready to transact.
Beyond the negotiating advantage, pre-approval protects you from emotional overspending. You will know your exact price ceiling, which helps you filter listings immediately. It also speeds up the closing process later because much of the paperwork is already completed. If you are wondering about the broader financial landscape of managing your money during this process, understanding how digital tools streamline other areas of your life can be helpful. For instance, many buyers use CRM automation to streamline sales and customer management in their own businesses to free up time for the home search.
Step 1: Check Your Credit Score and Report
Your credit score is the single most important factor in determining your interest rate. Lenders use it to assess the risk of lending you money. A higher score typically unlocks lower rates, which can save you tens of thousands of dollars over the life of a 30-year loan.
Before you apply, pull your credit report from all three major bureaus. You are entitled to a free copy of each report once a year from AnnualCreditReport.com. Review them carefully for errors such as incorrect late payments or accounts that are not yours. Dispute any inaccuracies you find, as even a small mistake can drag your score down.
Understanding the Score Ranges
While specific thresholds vary by lender, conventional loans generally require a minimum score of 620. FHA loans are more forgiving, often accepting scores as low as 580. To get the best rates, you will want a score of 740 or above. If your score is lower than you would like, spend a few months paying down credit card balances and avoiding new credit inquiries before applying.
Step 2: Gather Your Financial Documents
Lenders want to see a complete picture of your financial life. They are not just looking at how much you earn; they are looking at how stable that income is and how you manage debt. Having these documents ready before you start the application will speed up the process significantly.
Here is a checklist of what you will typically need:
- Two years of W-2 forms or 1099s if you are self-employed
- Your most recent pay stubs covering the last 30 days
- Two months of bank statements for all checking, savings, and investment accounts
- Copies of your driver’s license or other government-issued ID
- Documentation of any additional income, such as alimony, child support, or rental income
- Details of your current debts, including auto loans, student loans, and credit card balances
If you are self-employed, you will also need two years of tax returns, both personal and business. Lenders may also ask for a profit and loss statement for the current year.
Step 3: Choose the Right Lender
Not all mortgage lenders are created equal. You have options: large national banks, credit unions, online lenders, and independent mortgage brokers. Each has its own underwriting standards and fee structures. Shopping around is not just allowed; it is encouraged. Comparing offers from three different lenders can save you a significant amount of money.
When comparing, look at the annual percentage rate (APR), not just the interest rate. The APR includes closing costs and other fees, giving you a truer cost of the loan. Also, ask about rate locks. A rate lock guarantees your interest rate for a specific period, usually 30 to 60 days, protecting you if rates rise while you are house hunting.
During this financial preparation, you might also be organizing other professional commitments. Many home buyers who run their own businesses find that adopting a cloud CRM for benefits and features helps them keep track of client interactions while they juggle the mortgage paperwork.
Step 4: Submit Your Application
Once you have chosen a lender, you will fill out a formal application. This is the Uniform Residential Loan Application, often referred to as the 1003 form. The application asks for detailed information about your employment history, assets, and debts.
During this stage, the lender will run a hard credit inquiry, which can temporarily lower your score by a few points. This is why it is critical to avoid opening new credit cards or making large purchases before you apply. The underwriter will review your debt-to-income ratio (DTI), which compares your monthly debt payments to your gross monthly income. Most lenders prefer a DTI below 43%, though some will go higher with compensating factors.
What to Expect After You Apply
After submission, the lender will order an appraisal if you are buying a specific property, but for pre-approval, they will focus on your financial profile. You may receive a conditional approval, meaning they need additional documentation. Respond to these requests quickly. The faster you provide what they ask for, the faster you get your letter.
Step 5: Understand the Difference Between Pre-Approval and Pre-Qualification
These terms are often used interchangeably, but they mean different things. Pre-qualification is an informal estimate based on information you provide verbally. It does not involve a credit check and carries no weight with sellers. Pre-approval, on the other hand, is a formal commitment from the lender. You have submitted paperwork, and your credit has been pulled.
Always aim for pre-approval, not just pre-qualification. In a hot market, sellers may even request a “verified approval” or a “fully underwritten pre-approval,” which is an even deeper level of vetting where the lender has verified your income and assets and reviewed the file as if it were a final loan application. This is particularly useful when competing with cash offers.
If you encounter any hiccups with your lender’s online portal or loan tracking system, remember that technical issues can always be resolved. Reaching out to a support team is often the fastest path to solving a login problem or a document upload error. You can find help by visiting the support page for your specific software provider to get assistance with any glitches that slow down your application.
Step 6: Keep Your Finances Stable During the Process
Getting pre-approved is not the finish line; it is the starting line. Lenders can and do re-check your credit right before closing. Any significant financial changes between pre-approval and closing can kill the deal.
Here are the golden rules to follow during this period:
- Do not change jobs unless it is the same line of work with a higher salary
- Do not deposit large cash gifts without documentation
- Do not take out new loans or co-sign for anyone
- Do not miss any bill payments
- Do not move money between accounts without a paper trail
Treat your finances like a fragile egg until the keys are in your hand. A single new car loan or an unpaid credit card can alter your DTI and cause your approval to be rescinded.
Conclusion
Getting pre-approved for a mortgage is the smartest first step in your home-buying journey. It gives you clarity on your budget, strengthens your offers, and reduces the stress of the closing process. By checking your credit, gathering your documents, and choosing the right lender, you set yourself up for a smooth transaction from start to finish.
The process may feel tedious, but the payoff is worth it. When you find that perfect home, you will be able to act fast and negotiate from a position of strength. Take the time to prepare properly today, and you will walk into your future home with confidence, not anxiety.
Frequently Asked Questions (FAQ)
How long does a mortgage pre-approval last?
Most pre-approval letters are valid for 60 to 90 days. After that period, the lender will typically require you to resubmit updated financial documents to ensure your situation has not changed.
Does getting pre-approved hurt my credit score?
Yes, a hard inquiry will temporarily lower your score by a few points. However, if you shop around within a 45-day window, credit scoring models treat multiple inquiries as a single one, minimizing the impact.
Can I get pre-approved if I am self-employed?
Yes, but you will need to provide more extensive documentation, including two years of personal and business tax returns, profit and loss statements, and possibly a CPA letter to verify your income.
What is the difference between a pre-approval and a pre-qualification?
Pre-qualification is a quick, informal estimate based on self-reported information. Pre-approval is a formal process where the lender verifies your income, assets, and credit, resulting in a conditional commitment to lend.
How much house can I afford based on pre-approval?
The pre-approval letter will state a maximum loan amount, but that is not necessarily what you should spend. Consider your monthly budget, property taxes, insurance, and maintenance costs to determine a comfortable price point.
Should I get pre-approved before or after finding a house?
Always get pre-approved before you start house hunting. It helps you avoid looking at homes you cannot afford and makes your offers more appealing to sellers, especially in a competitive market.